Xinpugaung 50 watt solar module/solar panel/solar cell /solar panel kit 12V High Efficiency Module PV Power for Battery Charging Boat, Caravan, RV and Any Other Off Grid Applications
- Brand Name: xinpuguang
- Origin: CN(Origin)
- Foldable Solar Panel: No
- Number of Panels: 1
- Certification: CE
- Certification: FCC
- Flexible Solar Panel: No
- Type: Solar Panel
- Nominal Capacity: 50 watt
- Size: 680*510*25mm
- Model Number: Solar panel kit
- is_customized: Yes
- Number of Cells: 36
- Material: Monocrystalline Silicon
- Max. Power: 50W
Xinpu Guang 50 watt solar module/solar panel/solar panel/solar panel kit 12V
High quality monocrystalline solar module—most suitable to charge of 12V batteries— be used exclusively a-grade cells, so only cells, which in the performance tests above average cut have
Power (pmax): 50W —voltage (VMP): 18V-Max. Current (IMP): 2,7a-open circuit voltage (VOC): 21V —short circuit current (ISC): 3A — Max. System Voltage: 1000vdc-ambient temp. : -40 °C to + 85 °C-dimensions (wxlxh): 680x510x25mm —weight: 3,3 kg-bypass diodes: 1 PCs—Class junction box: IP65 —temperature Ko efficiency: -0,45%/°C —cable connection: obstructed are 2×0,8m 4mm ² with preassembled PV connectors
Permanent monitoring module quality and performance data by tests under real-and laboratory conditions—each Xinpu Guang solar panel is before delivery a flash test subjected-at technical inquiries, stands the customer service the Xinpu guang GmbH permanent available
The solar module itself are 50cm connector cable, provided with PV connectors-this compatible connector cable for connecting with a charge controller visit (2.5mm ²) ;
The cell efficiency when xinpuguang mono series is 22,3% and is thus higher than most modules with similar technical specifications-noticeable makes the especially by a positive power tolerance and measurably more yield under real conditions—default are Xinpu Guang solar panels with bypass diode (quantity varies depending on the model) fitted, what the power drop at shading reduced
Kit 1
1 pcs 50 watt solar panels
1 set 12V 10A blue controller
1 Set 3 meters 2,5 mm² photovoltaic cable (photovoltaic connector)
1 Set 3 meters 2,5 mm² photovoltaic cable (crocodile terminal connector)

Kit 2
1 pcs 50 watt solar panels
1 set 12v black waterproof controller
1 Set 3 meters 2,5 mm² photovoltaic cable (photovoltaic connector)
1 Set 2 meters photovoltaic cable (crocodile terminal connector)


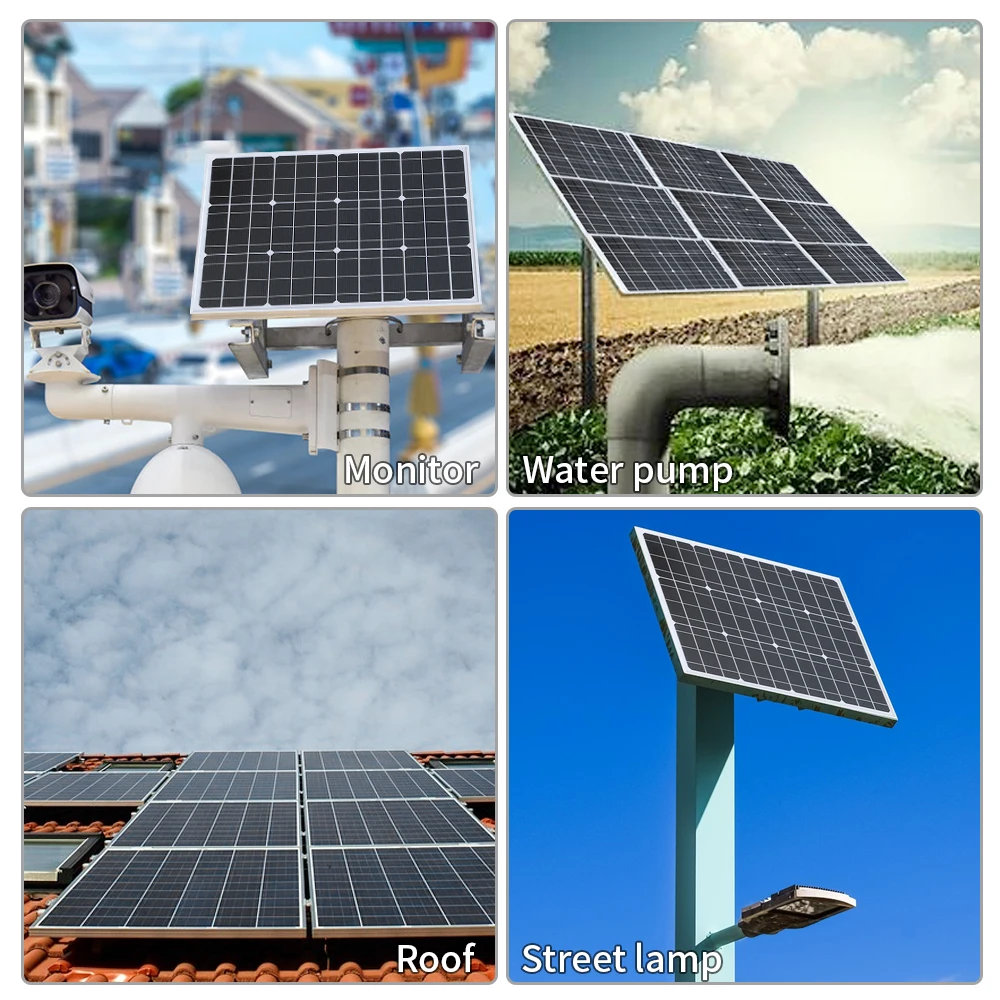


Off-grid solar system User Manual
Fit on
1. please install the solar panels system on cloudy days. Make sure when installation in strong light on the protection against electric shock.
2. Generally, the red wire is the positive electrode and the black wire to the negative electrode. The positive and negative electrodes must be installed correctly.
Connect the positive and negative poles of the solar panel not directly, to avoid short circuit.
3. during installation and use the solar panel will not scratch or on it. Check you advance, whether the controller, battery, inverter and other accessories are normal.
Installation process
1. first, connect the battery to the control to to the control to activate. There is no display, if only the solar panel to the controller is connected.
2. then connect the solar panels to, install the solar panels on a sunny and shadow free place. If you use a 12-v-system, configure 12-v-batterien and 16-V/18-v-solarmodule, so multiple solar panels are connected in parallel. If you use a 24-v-system, configure 24-v-batterien and 32-v/36-v-solarmodule. Connect so 2 solar panels in series to connect then all parallel pairs. And so on. The parallel connection requires the same voltage, especially the series connection requires the same power.
The diagrammatic representations of parallel and series connection of solar modules are as follows
(Same applies for batteries):

3. Connect next the inverter to the battery and connect finally the load power inverter. The DC load with low power consumption can directly to the controller, and the AC load must be connected to the inverter.
First connect the inverter wire to the positive and negative pole of the inverter and pull you hard. Then connect the other end of the cable to the positive and negative pole of battery. It is normal if it a little spark. Then close the load to the inverter and turn on the inverter switch A, to the load.
The inverter will not connect to the controller, to avoid damage.
The whole connection scheme looks like this:

Be the first to review “Xinpugaung 50 watt solar module/solar panel/solar cell /solar panel kit 12V High Efficiency Module PV Power for Battery Charging Boat, Caravan, RV and Any Other Off Grid Applications” Cancel reply
Related products
Uncategorised
Uncategorised





Reviews
There are no reviews yet.